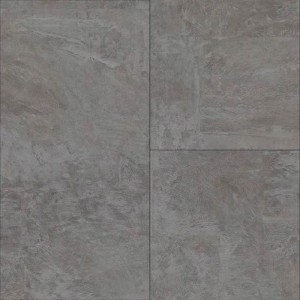
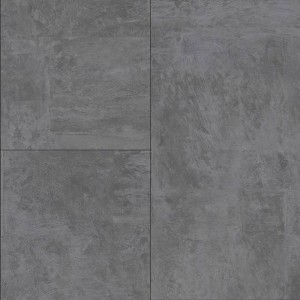
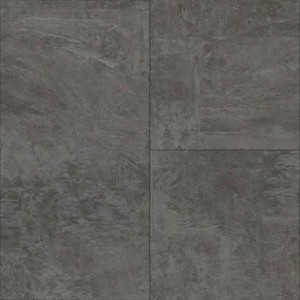
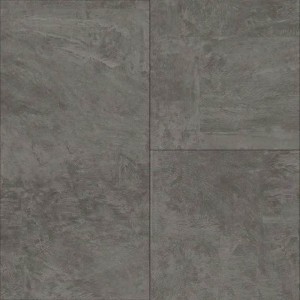
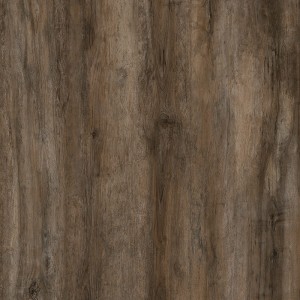
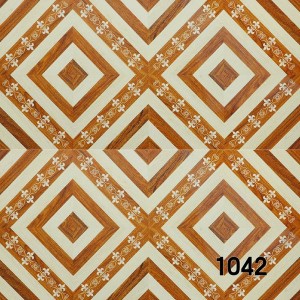
The Marble Stone Vinyl Tile Flooring Can be replaced ceramic tile ?
As the oldest floor covering material-Marble Stone, it belongs to the first generation of flooring and is used in various places even now. Floor materials are roughly divided into three categories, stone (tile, marble, etc.), wood (Hardwood, Laminate, Bamboo, Engineering Flooring, etc.), and plastic (PVC, SPC Flooring, etc.).
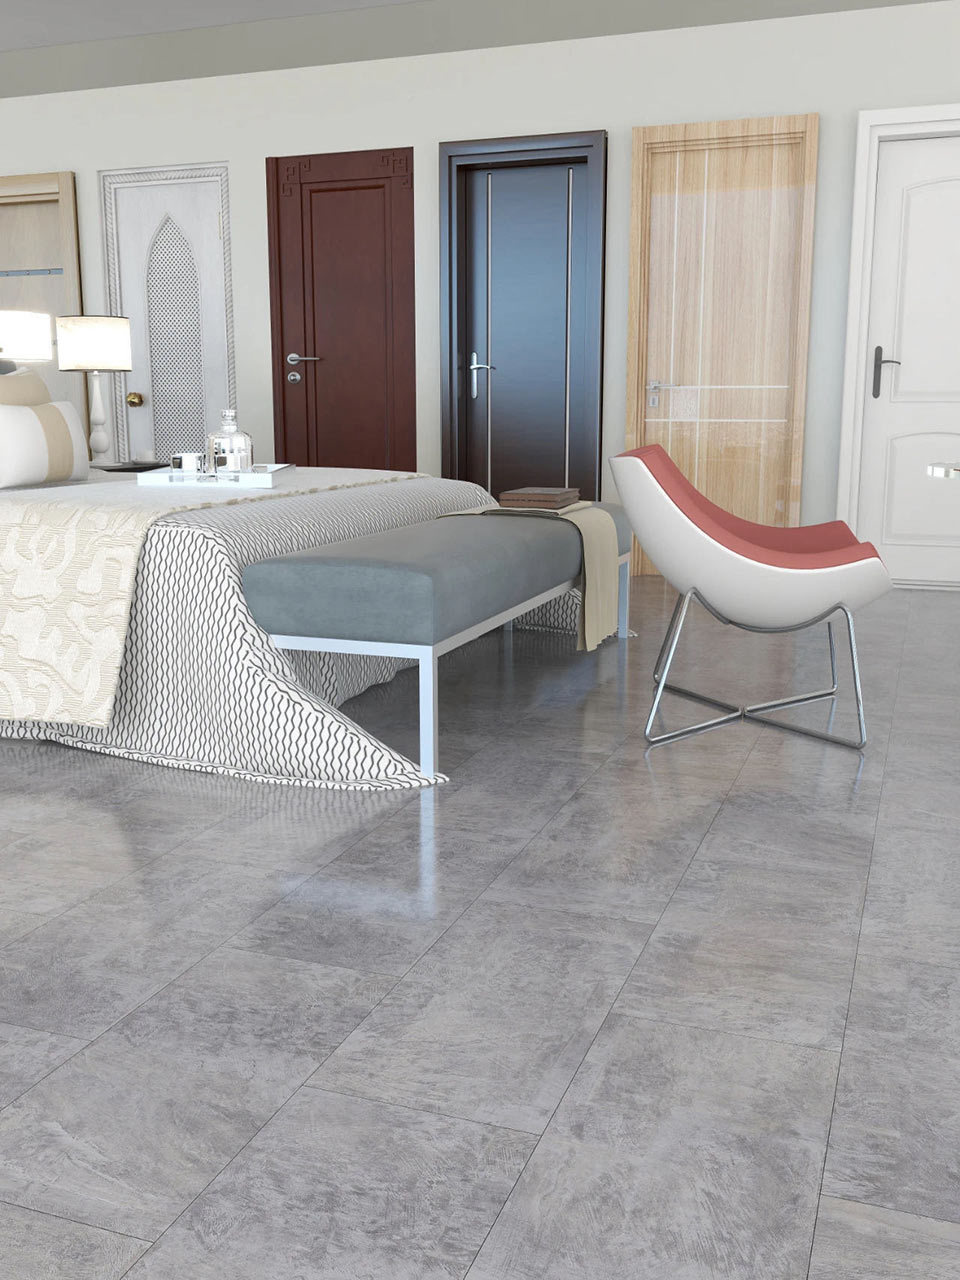
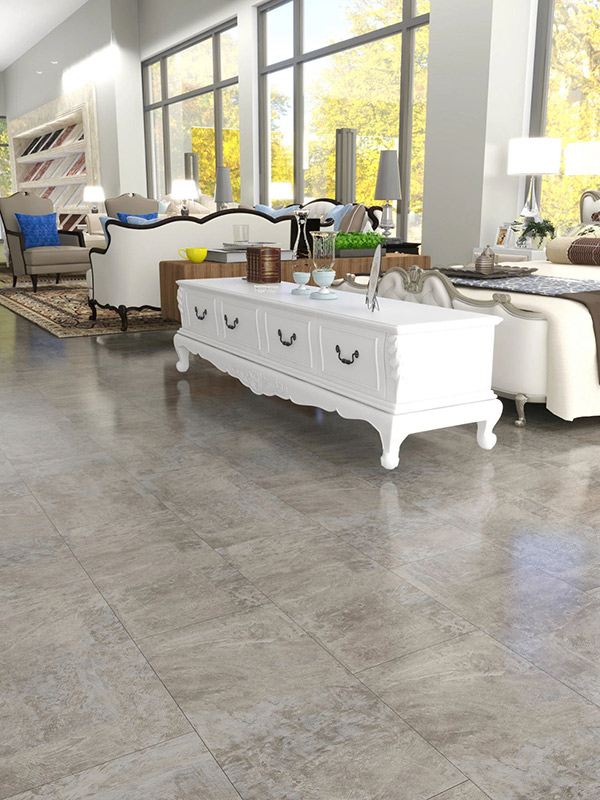
As a professional flooring material supplier, we have developed a new type of flooring-Marble Stone Vinyl Tile Flooring, which combines the advantages of stone and plastic at the same time:
Same size: 600*300mm, 450*450mm
Thickness can be selected: 2mm, 3mm, 4mm, 5mm, 6mm
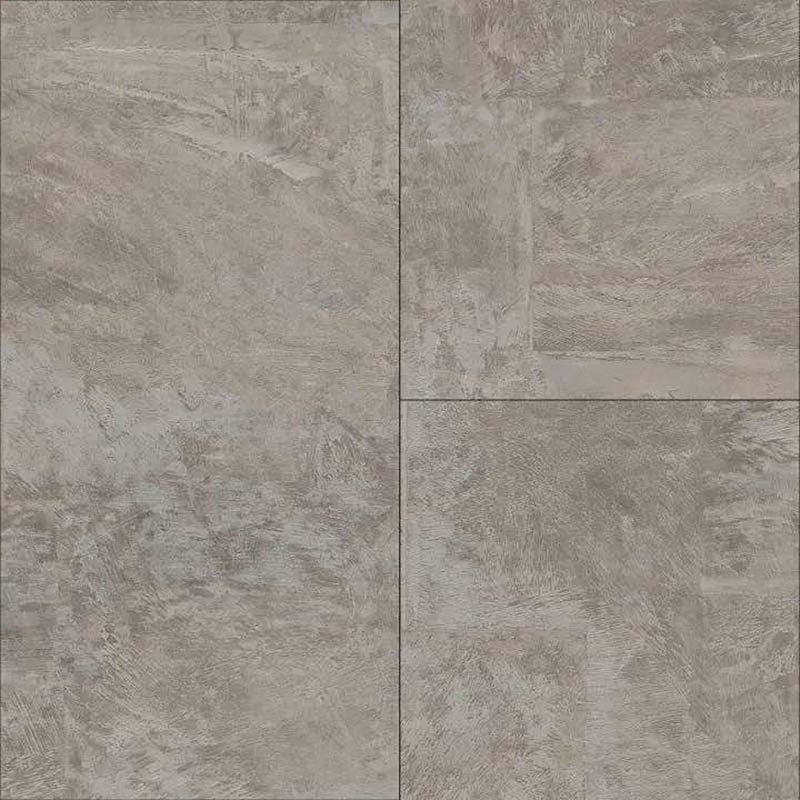
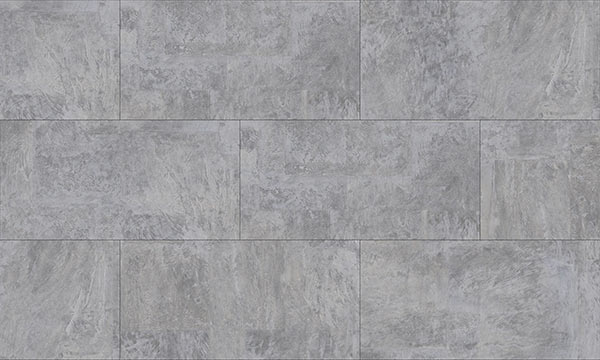
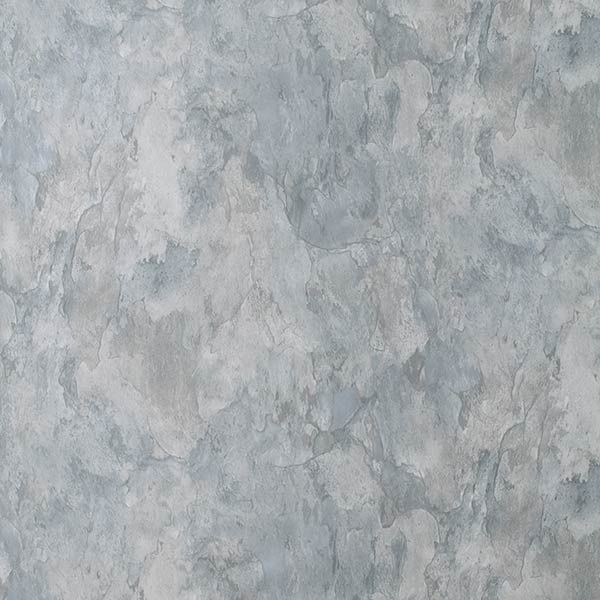
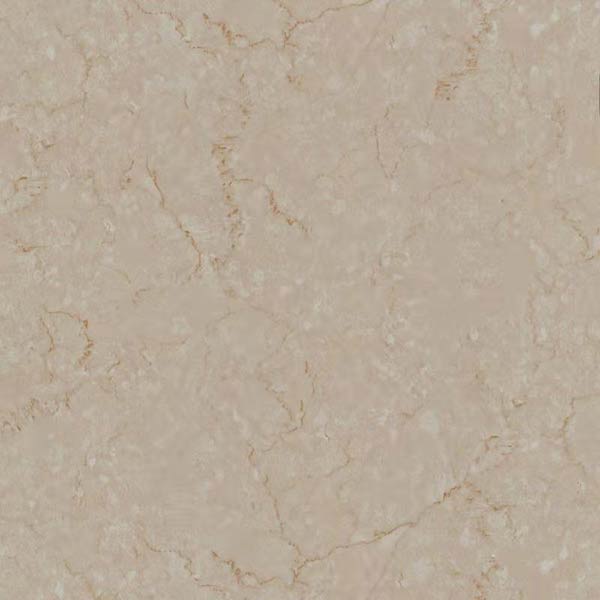
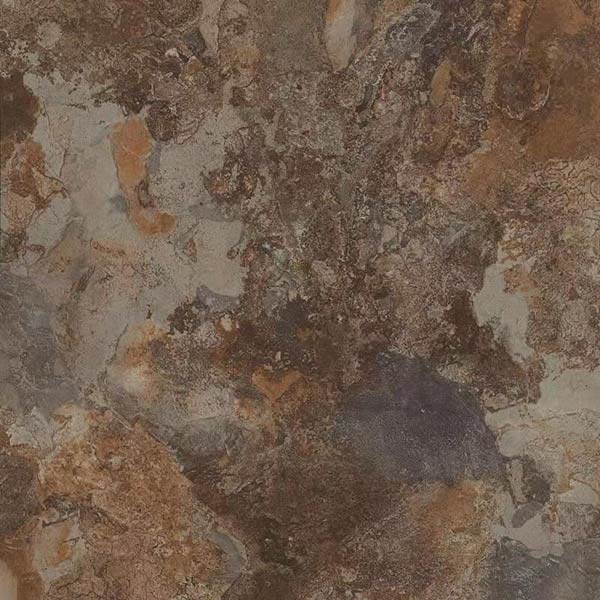
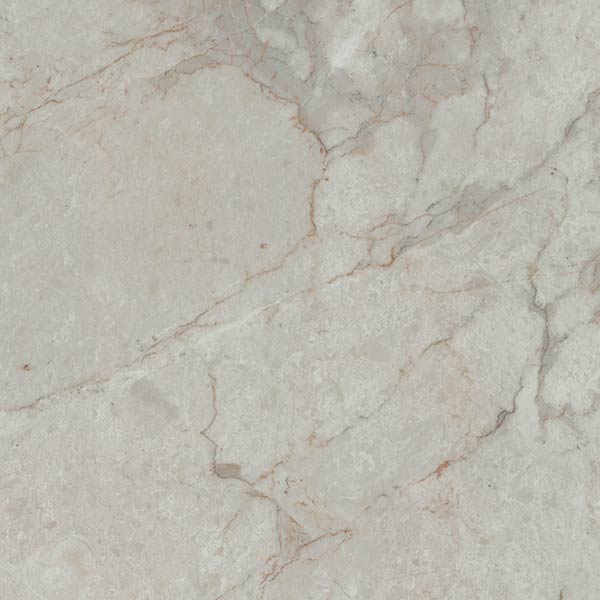
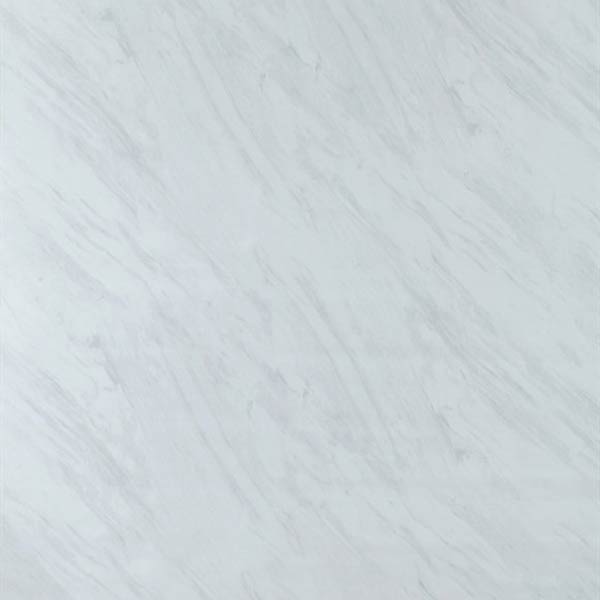
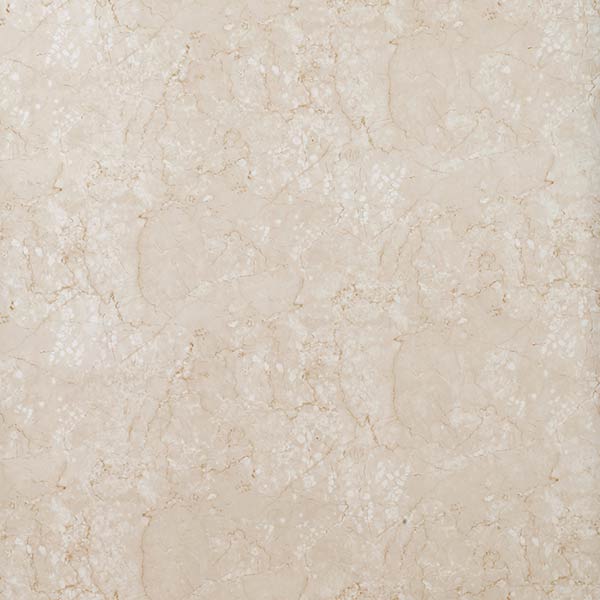
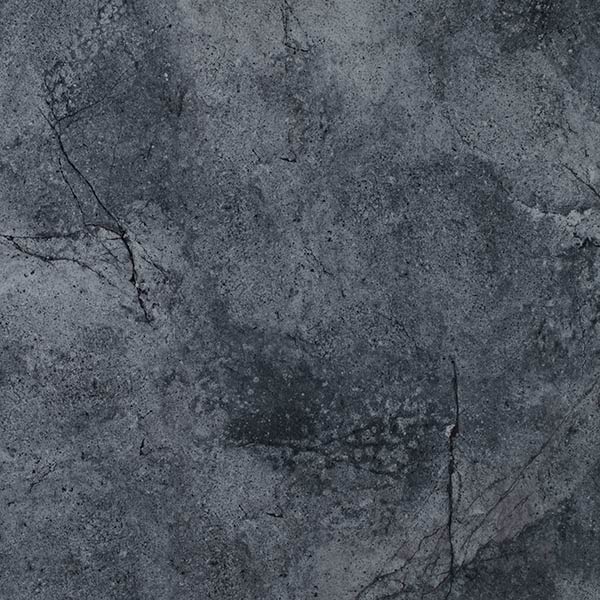
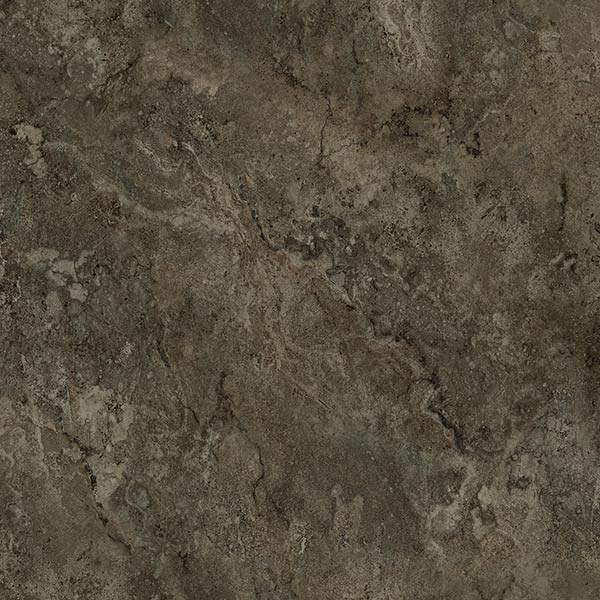
Color and texture: high-definition imitation natural marble
Compared with stone, the advantages are as follows:
1. Waterproof and non-slip: the more astringent and non-slip when exposed to water, the home furnishing can relieve the safety concerns of the elderly and children.
2. Super wear resistance: It can be used for 5 to 25 years, depending on the thickness of the wear layer.
3. Light weight: It is 5 times lighter than the wooden floor after construction, and 25 times lighter than the ceramic floor after construction. It is most suitable for practical use such as high buildings and office buildings with three floors or more. Reduce the load-bearing capacity of the building, ensure safety, and facilitate transportation.
4. Convenient construction: special glue paving, quick and easy. Good flexibility: Special elastic structure, impact resistance, and suitable foot feel, providing the highest guarantee of daily life for the family.
5. Convenient maintenance: You can usually scrub with a mop with clean water. If there is a stain, wipe it with an eraser or thinner to clean it.
Structure
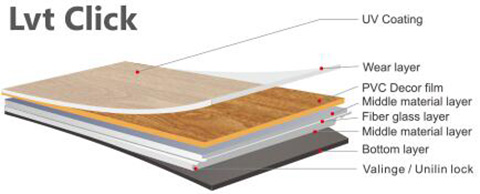
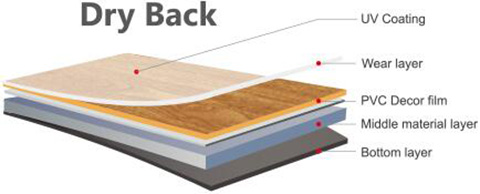

Vinyl Flooring Types
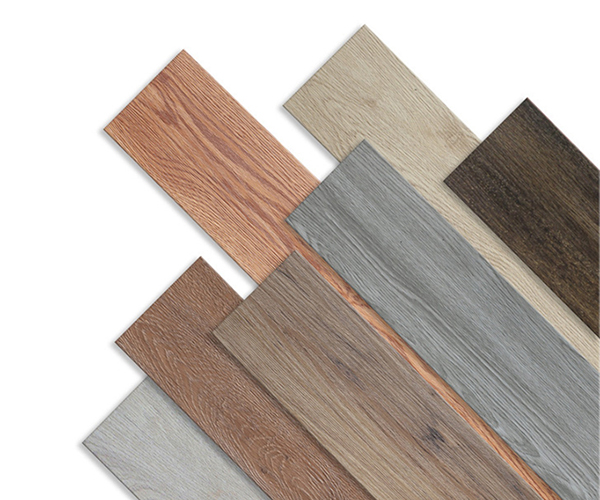
Dry back series Vinyl flooring
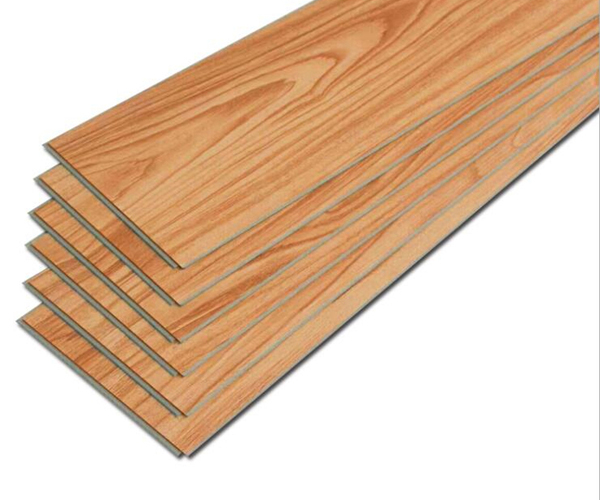
Click Vinyl flooring
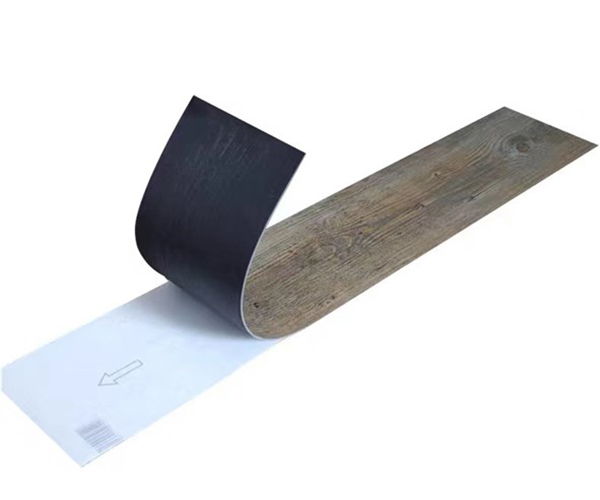
Self-Sticking Vinyl flooring
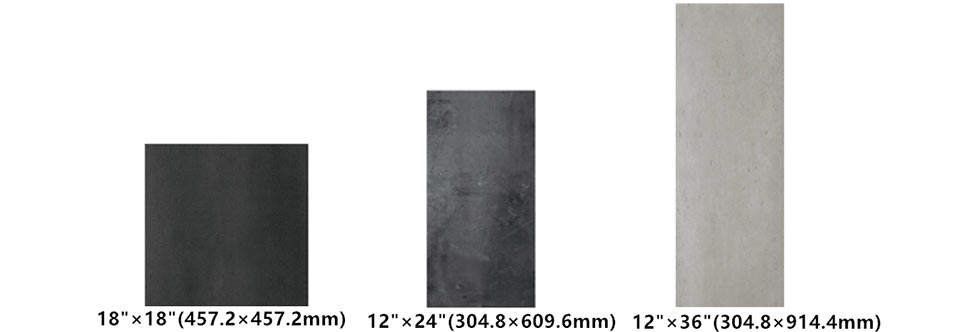
Size
Finish Types
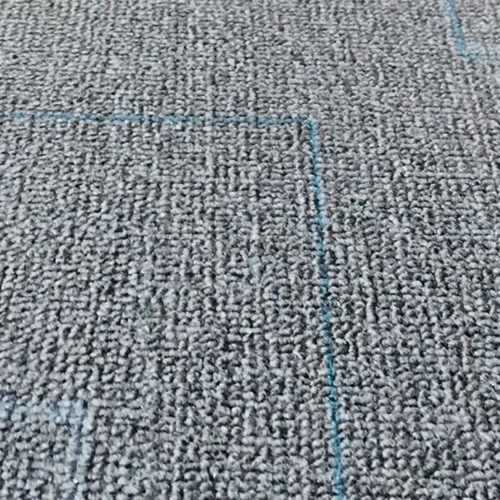
Carpet Surface

Crystal Surface

Deep Embossed Surface
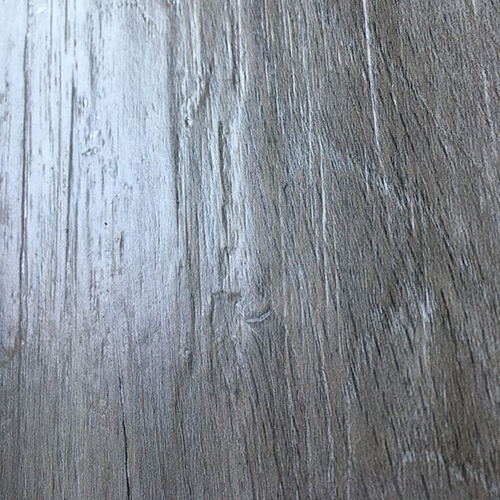
Handscraped Spc Flooring
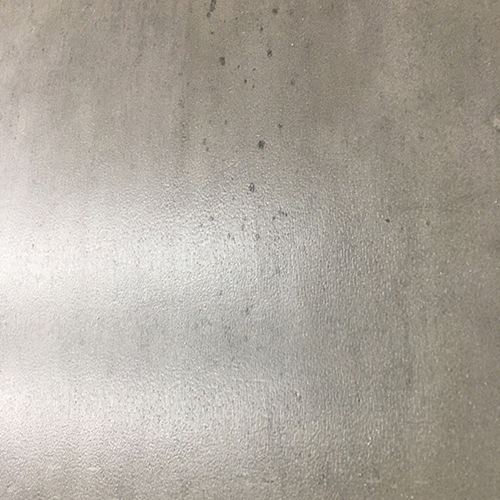
Leather Surface
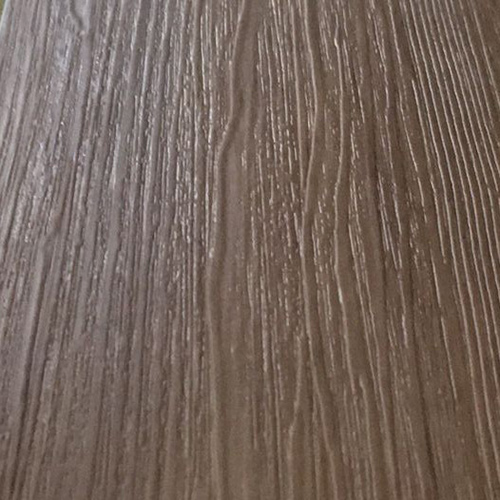
Light Embossed

Marble Surface
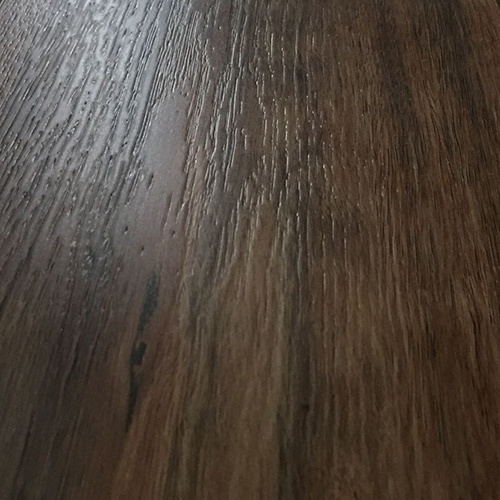
Real Wood
Specification
| Color | Marble | sqft/Box | 50 |
| Installation Type | Glue down / Click | Core Type | PVC |
| Underpad | Dryback / Lock | Thickness(mm) | 1.5mm,2.0mm,2.5mm,3.0mm, 4.mm,5mm,6mm |
| Wear layer | 0.1mm,0.2mm,0.3mm,0.5mm | Size of Plank | 18"×18"(457.2×457.2mm); 12"×24"(304.8×609.6mm); 12"×36"(304.8×914.4mm); |
| Material | PVC | Finish | Stone or Marble |
| Edge Type | Micro-beveled | Gloss Level | Low-Gloss |
| Texture Detail | Stone | Absorption | Waterproof |
| Residential Warranty(in years) | 20 | Commercial Warranty(in years) | 10 |
Advantage
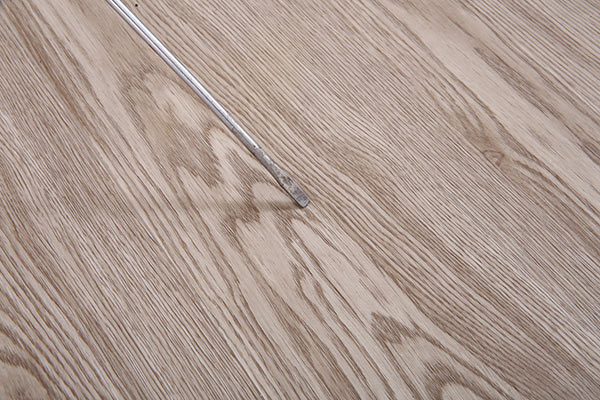
Wear-resistant and scratch-resistant

Fire prevention
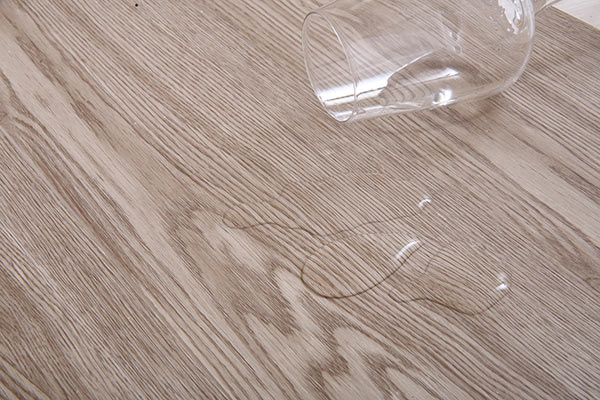
100% Waterproof
Applications
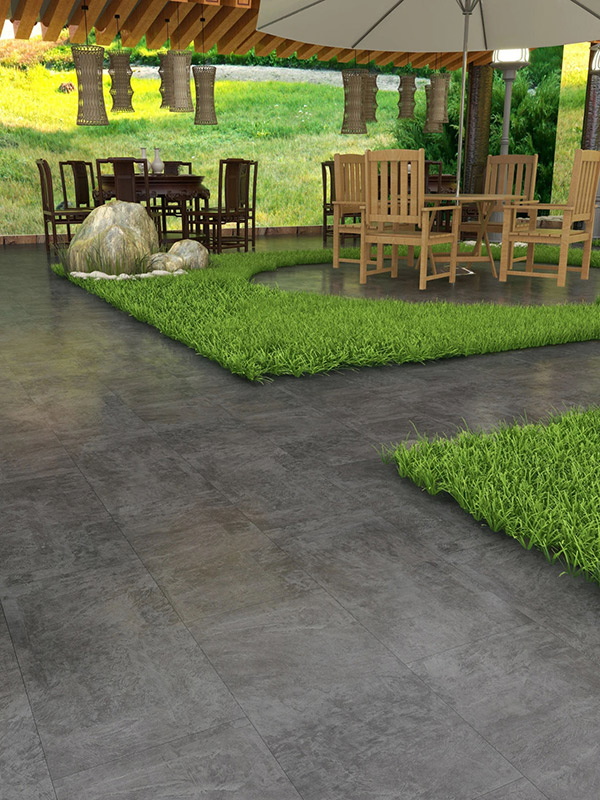
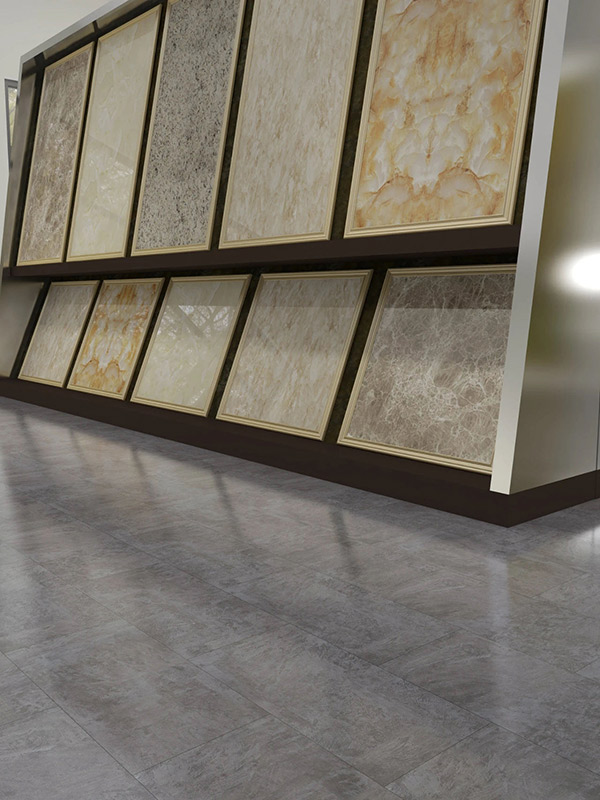
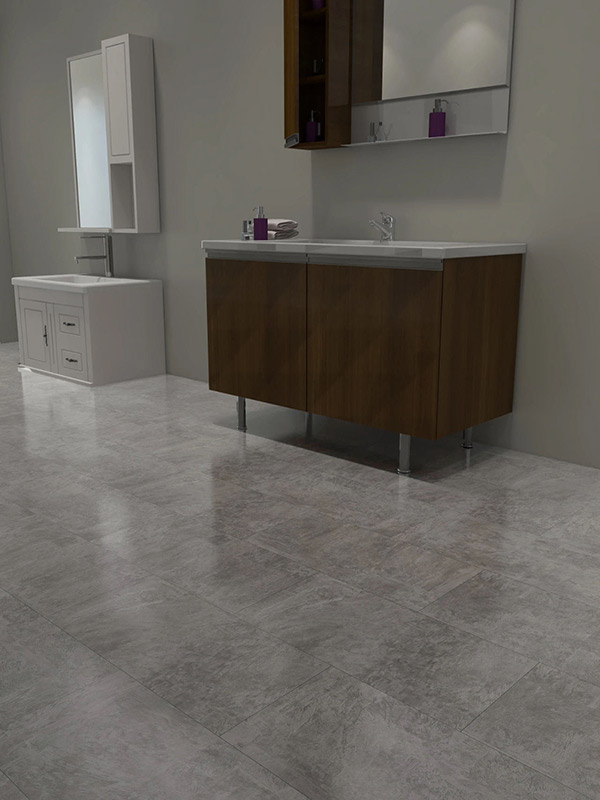


1. Subfloor treatment: clean the site to be dust-free, apply the interface agent evenly, and start self-leveling after the interface agent is dry. The method is the same as PVC VINYL FLOOORING.
(1) For subfloor detection, the self-leveling thickness is generally about 2mm.
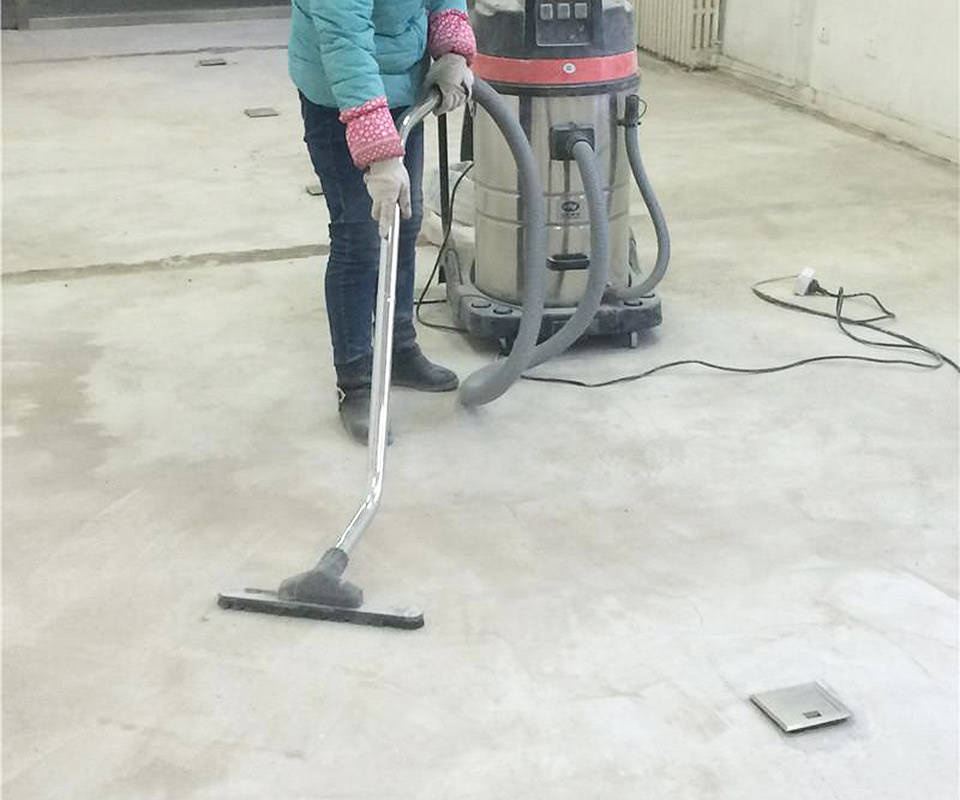
(2) Subfloor treatment removes ground attachments such as putty powder and other metal objects or iron nails that are higher than the ground, and removes paint, oil stains, chemical solvents, sulfides or solidifications, sealing agents, asphalt, glue and other residues Objects, raised and loose plots, and hollow plots must also be removed. Use an industrial vacuum cleaner to vacuum and clean the floor. Repair cracks on the floor.
(3) The flatness of the base of self-leveling construction shall be inspected with a 2-meter ruler, and the gap shall not be greater than 2mm. Therefore, in pursuit of high safety level and long-lasting and reliable floor life, use self-leveling cement to level
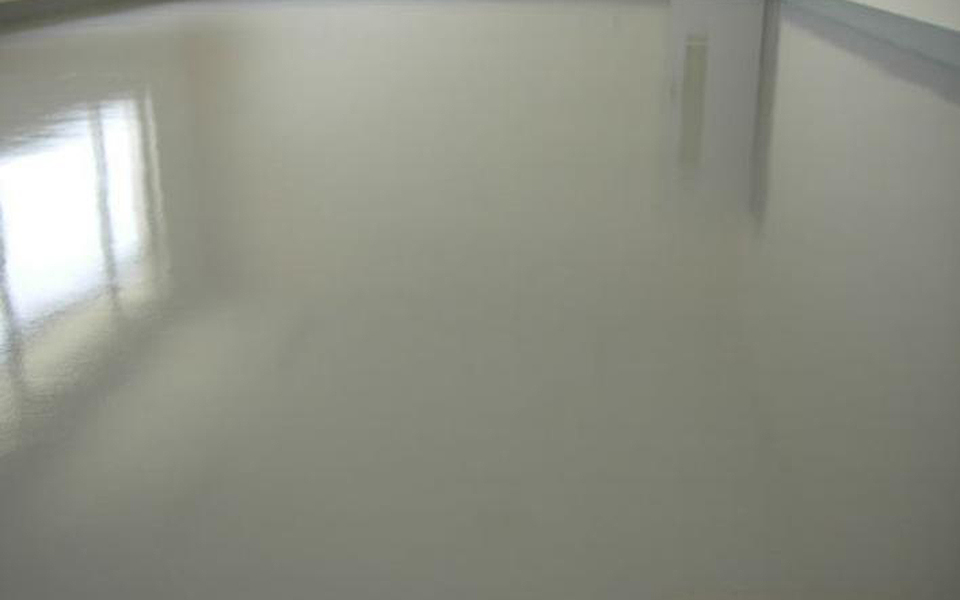
It is an indispensable link in the VINYL FLOORING floor installation system. Self-leveling has the following effects: avoids insufficient strength and shrinkage cracks of the on-site mixing cement mortar; shortens the construction period and labor intensity, and breaks the flatness limitation of the artificial screed leveling layer , To ensure that the floor has no obvious joints; it is tightly integrated with the base layer to ensure a uniform surface and the surface required for bonding the floor; to improve the load-bearing capacity of the entire floor system and the ability to resist motion shear; the self-leveling construction must wait for the primer to be completely dry and uniform There is no accumulation of liquid, and the primer must be completely absorbed by the base; during construction, pour a pack of self-leveling cement into a mixing bucket filled with clean water according to the specified water-cement ratio, and mix while pouring. In order to ensure uniform self-leveling and mixing, a high-power, low-speed electric drill must be equipped with a special agitator for mixing. Stir to a uniform slurry without agglomeration, let it stand and mature for about 3 minutes, then stir briefly again, and the amount of water should be strict According to the water-cement ratio. Too little water will affect the fluidity, and too much will reduce the strength after solidification; pour the self-leveling slurry after mixing on the construction floor, use a gravity rake to control the thickness, it will flow by itself and level the ground; such as the design thickness If it is less than or equal to 4 mm, it needs to be scraped slightly with the help of a special tooth blade; use a special self-leveling deflation roller to gently roll on the self-leveling surface to release the air mixed in the mixing to avoid bubbles and pitted surfaces and high joints Poor; please close the site immediately after completion of the construction, and no walking is allowed for 5 hours. Avoid heavy impact within 10 hours, and pave the ground after 24 hours. In winter construction, the laying of the floor should be carried out after 48 hours. If self-leveling is required for fine grinding and polishing, it should be carried out 12 hours after the self-leveling construction; the specific construction method should follow the instructions of the self-leveling cement manufacturer. +After the self-leveling is sufficiently dry, polish the surface with a grinder to remove the polished powder.
2. Before laying, the floor temperature should not be lower than room temperature, and the room temperature should be controlled above 15 degrees. The room temperature should not change too much within 72 hours before and after laying.
3. Measurement: After arriving at the construction site, measure the length and width of the construction site, and calculate the number of VINYL FLOOR tiles that should be laid after the measurement. And confirm the flooring Paving style:

4. The same batch of products should be used as much as possible in the same area. When different batches of flooring must be used for installation in the same area, different batches of products should be distinguished and installed in their own independent ranges.
5. When laying, start laying from top to bottom at the intersection of the pre-drawn reference line, and apply force evenly during laying.
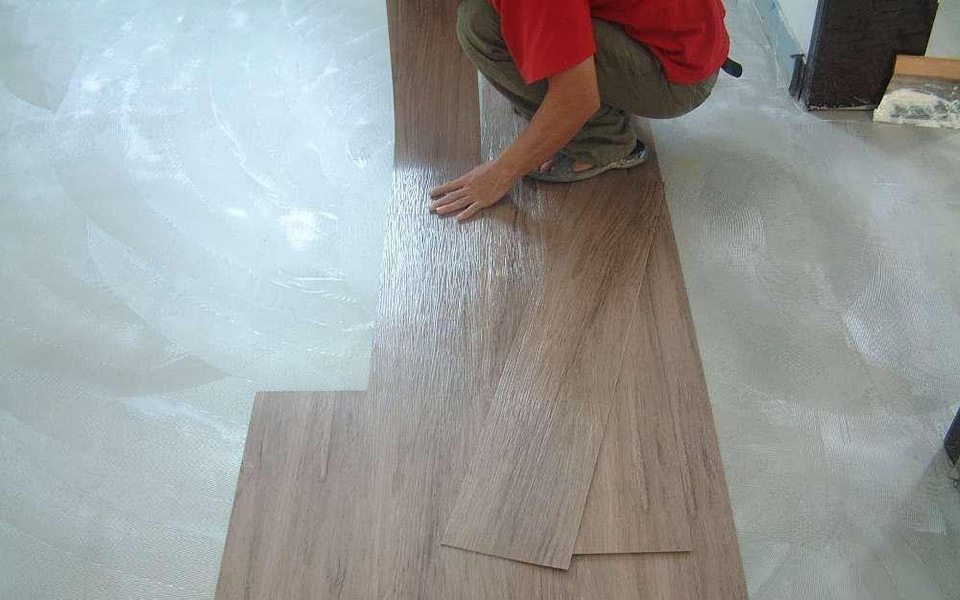
6. Squeegee glue Always use sheet glue. Use a chisel-shaped scraper to scrape the ground evenly and evenly. 20-30 minutes after the end of the glue application, it will not be stuck until it touches the glue. It is confirmed as dry, which is the best time to start laying tiles. Winter special glue must be used during winter construction.
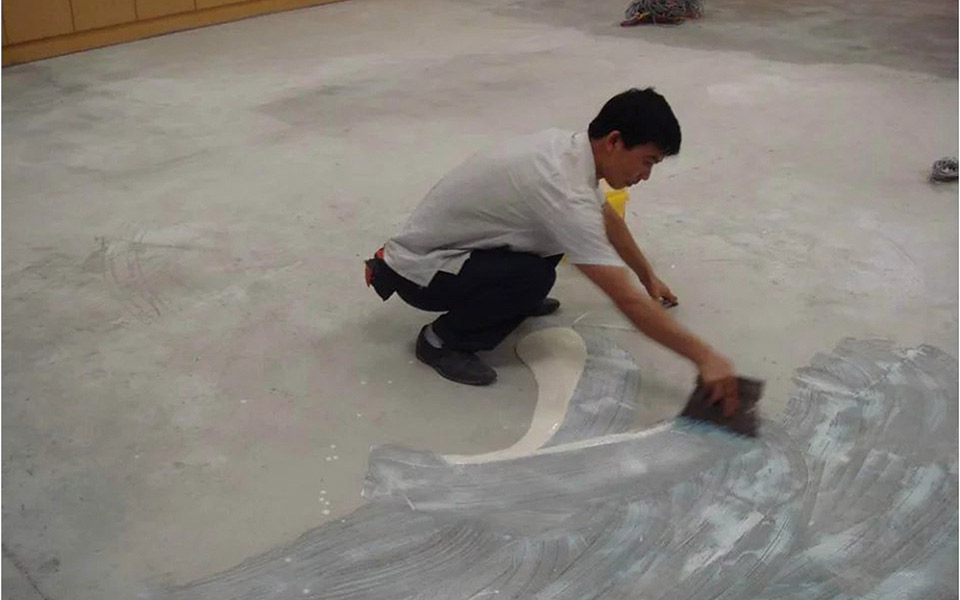
7. After the floor is pasted, use a cork block-based rubber hammer to press the floor surface to level it and squeeze out the air. Then use 50 or 70 kilograms of steel pressure rollers to evenly roll the floor and timely repair the warped edges of the joints. The excess glue on the floor surface should be wiped off in time. After the laying is completed, use a roller to roll from the center. One hour after the laying is completed, use the roller to roll again. Use a leather hammer to hammer the area where the pulley flattening roller cannot be rolled. Pay attention when beating. Don’t use too much force to avoid breaking the self-leveling base layer and causing the floor to bulge.
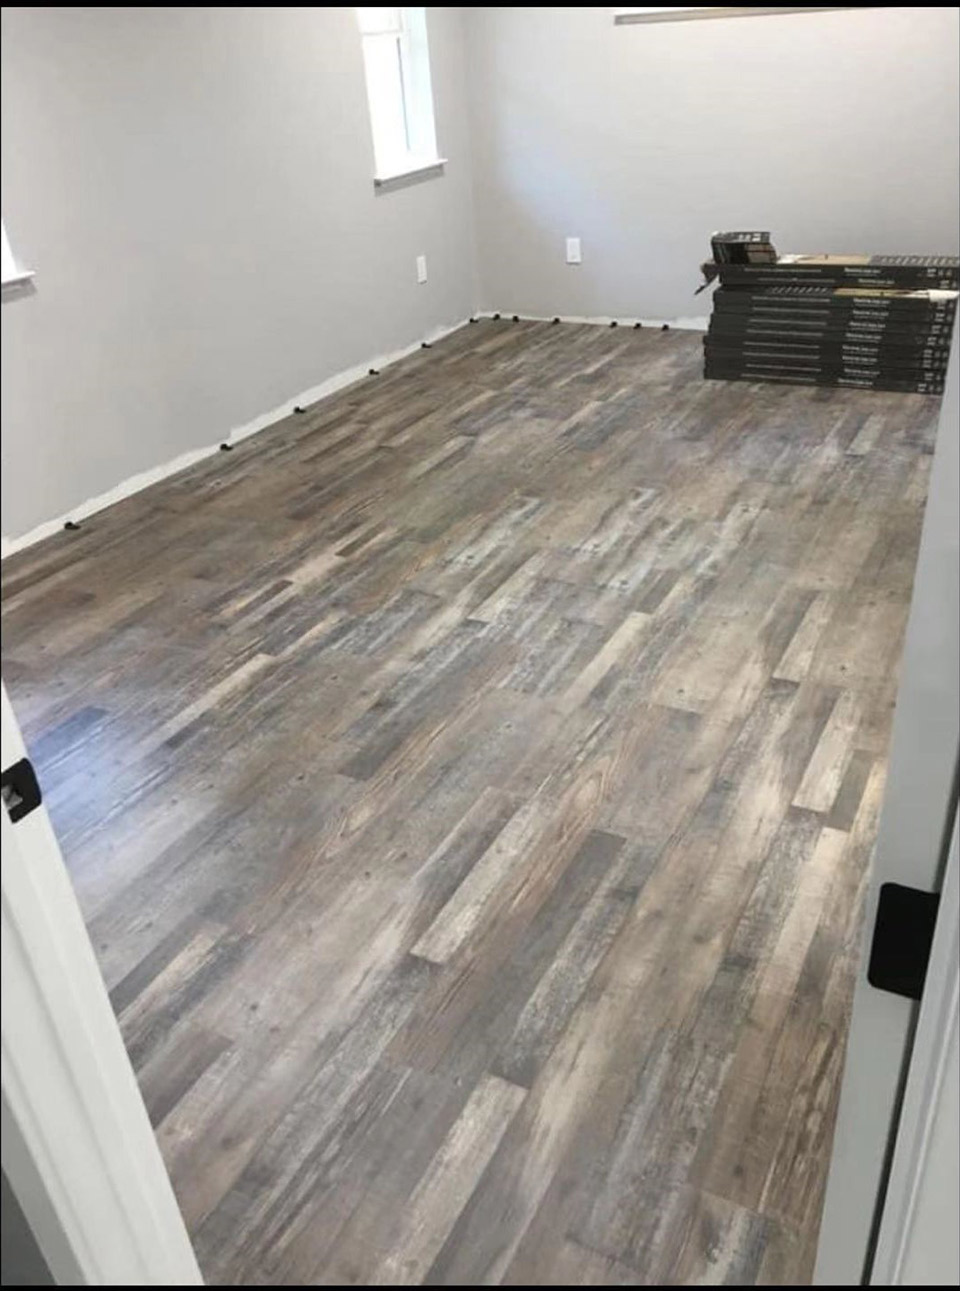
8. Use a trapezoid knife to close the edge and install skirting.
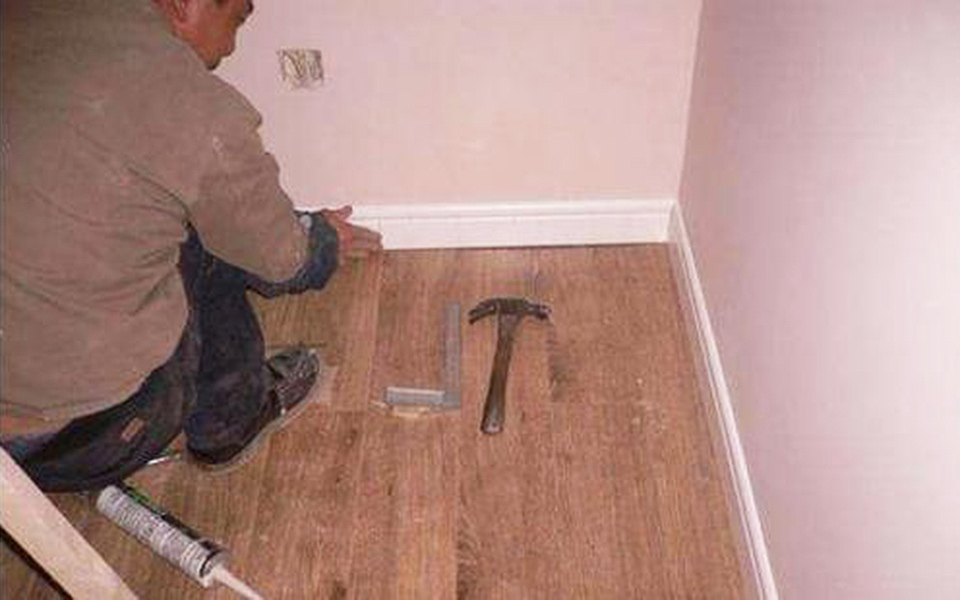
9. People are forbidden to walk within 48 hours after finishing laying.
