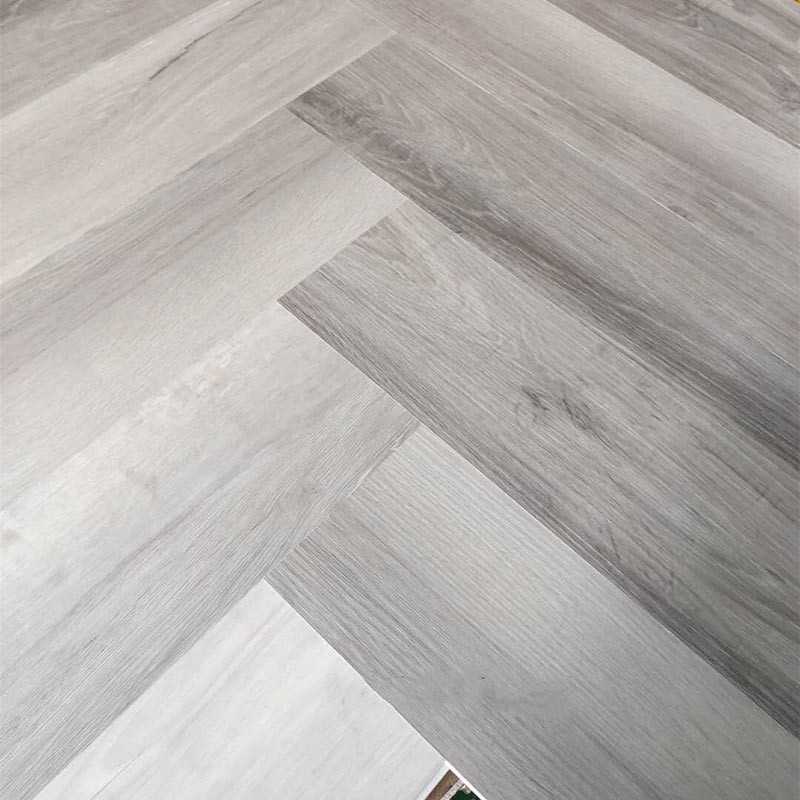
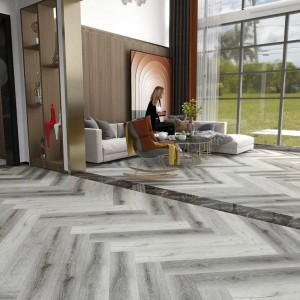
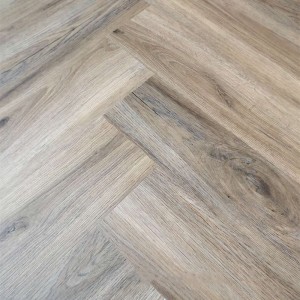
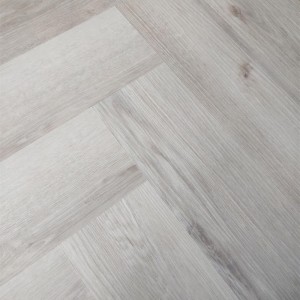
What is Herringbone Spc flooring ?
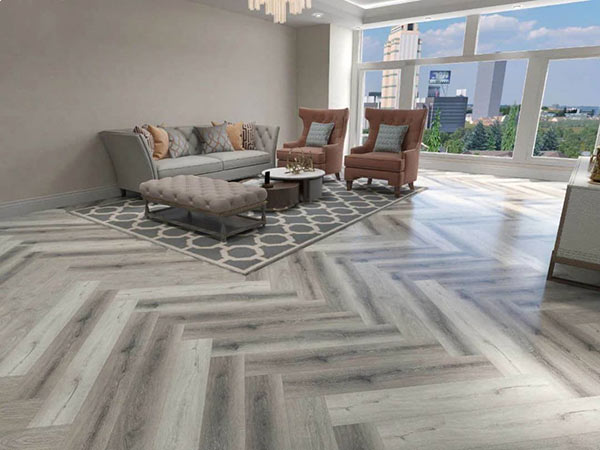
When you enter an old castle or a tasteful modern villa, you are often attracted by the unique charm of herringbone flooring, as a representative of the classic flooring series.
With the rise of the post-90s consumer group, flooring has gradually become a fashionable consumer product. It also needs to be simple, generous and creative, and is more suitable for the young people's personalized chevron flooring.
Structure
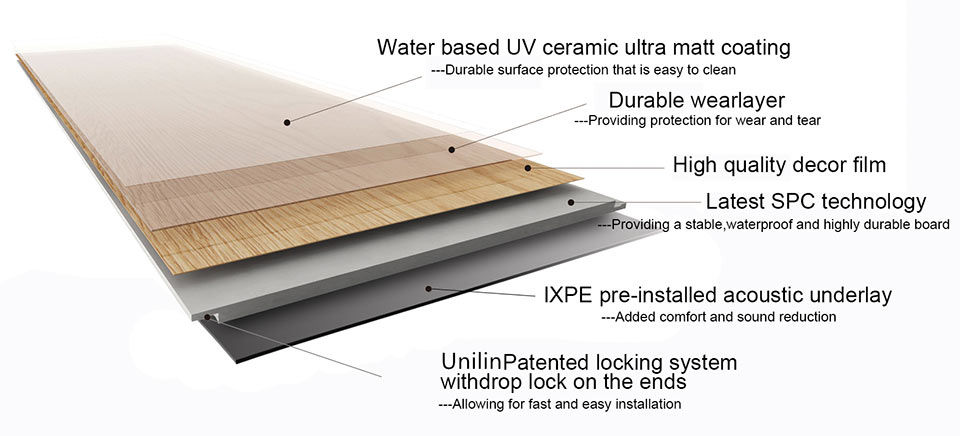


Details Images


Specification
| SPC Flooring Specification | |
| Thickness | 3.8mm, 4mm, 4.2mm, 5mm, 5.5mm, 6mm |
| Wear Layer | 0.2mm, 0.3mm, 0.5mm |
| Size | 600*135mm |
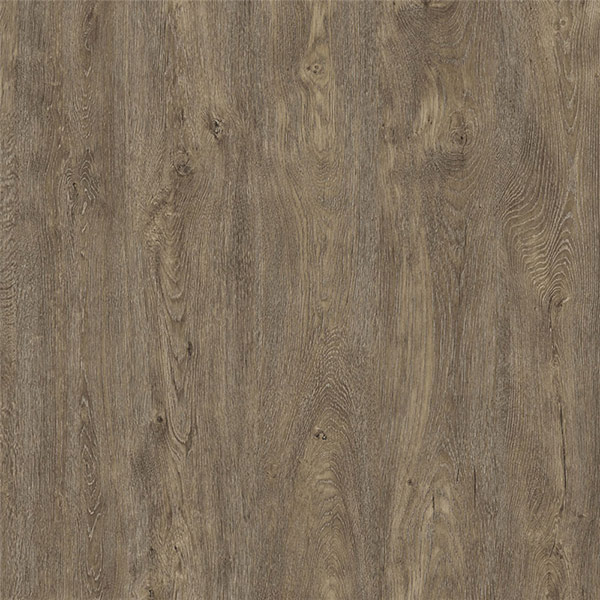
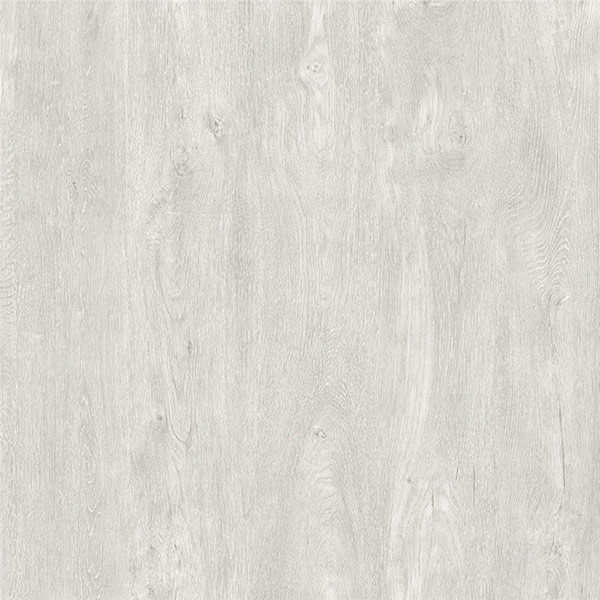
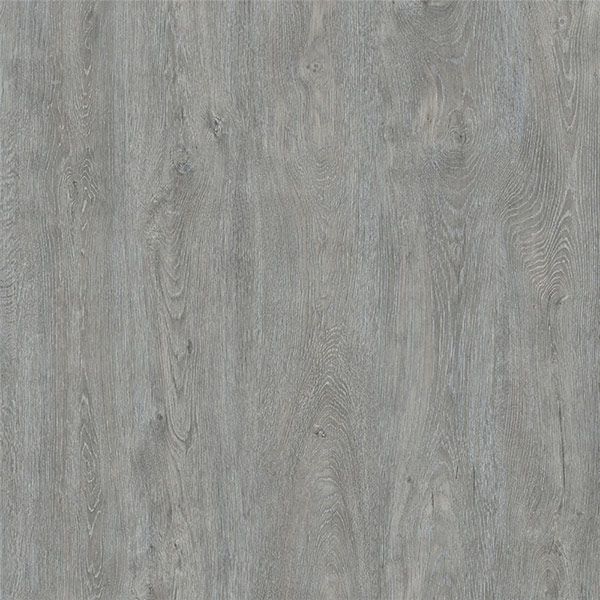
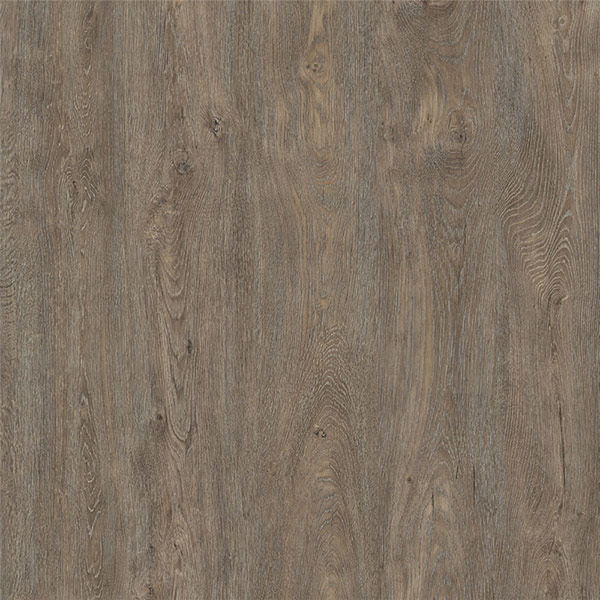
| Surface | Crystal, Light/Deep Embossed, Real Wood, Handscraped |
| Core Material | 100% virgin material |
| Click System | Unilin Click, Drop Lock(I4F) |
| Special treatment | V-Groove, Soundproof EVA/IXPE |
| Installation Method | Floating |
Size

How to choose Herringbone flooring?
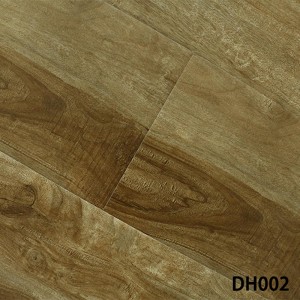
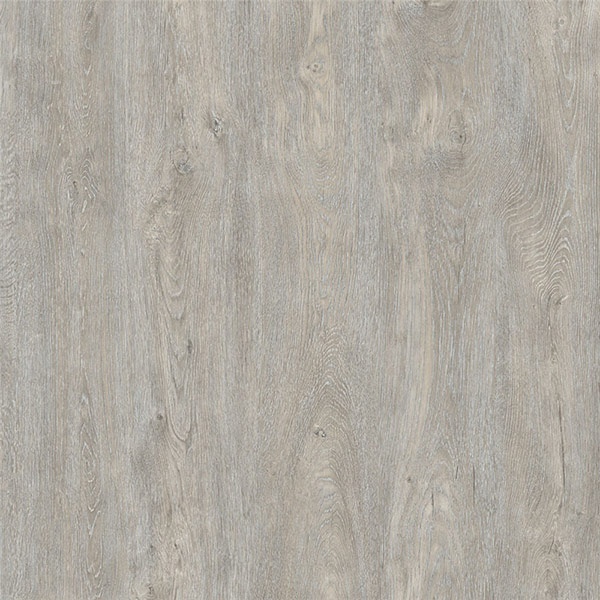
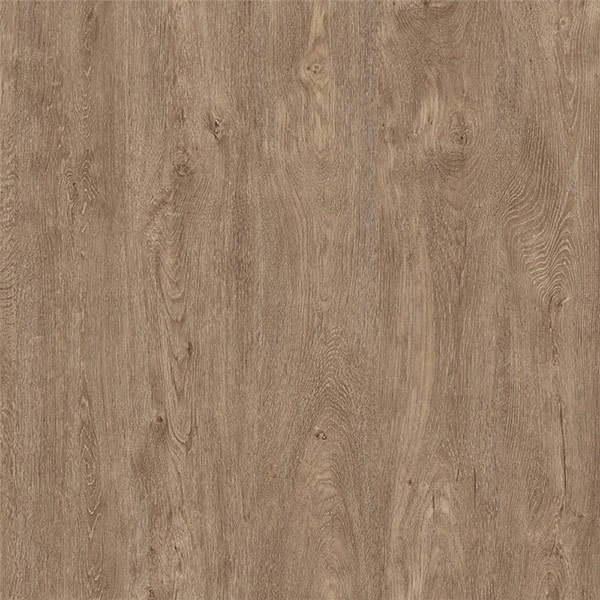
01. The wood color is the most versatile, can brighten the space, very suitable for small-sized houses
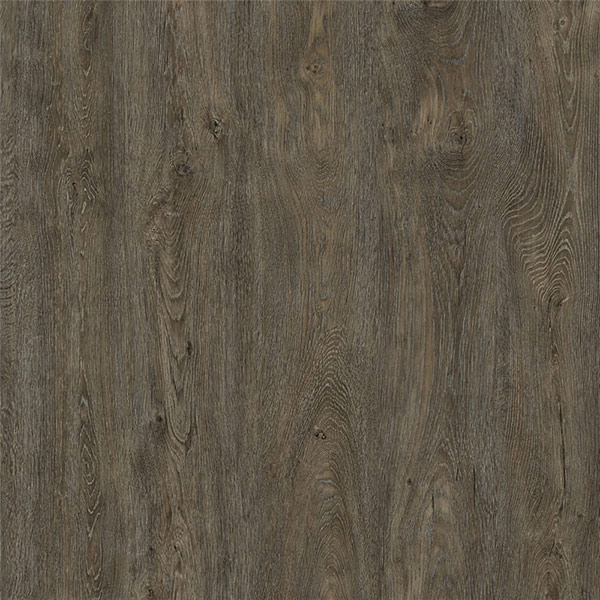
02. Brown-yellow can highlight the herringbone spelling lines, and it is easy to have a retro atmosphere.
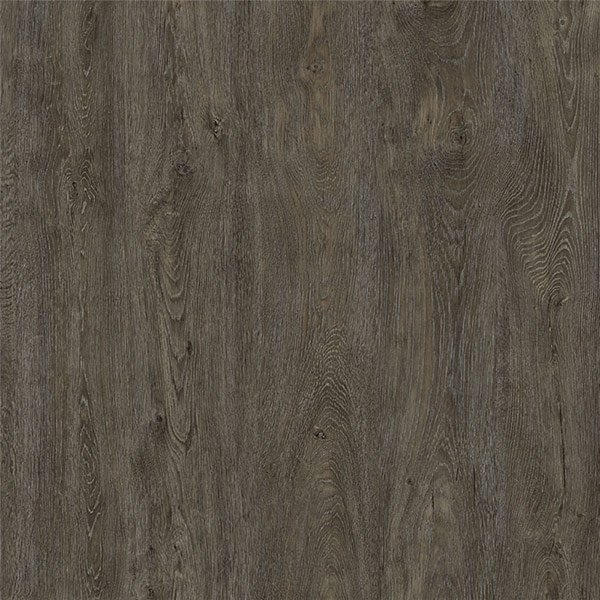
03. The walnut grain is meticulous and lively, and the color is also available in shades, which is very suitable for homes that like industrial atmosphere or English style.
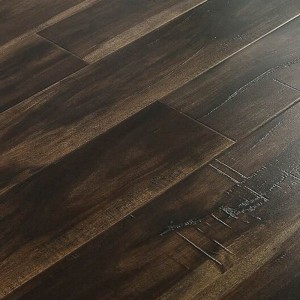
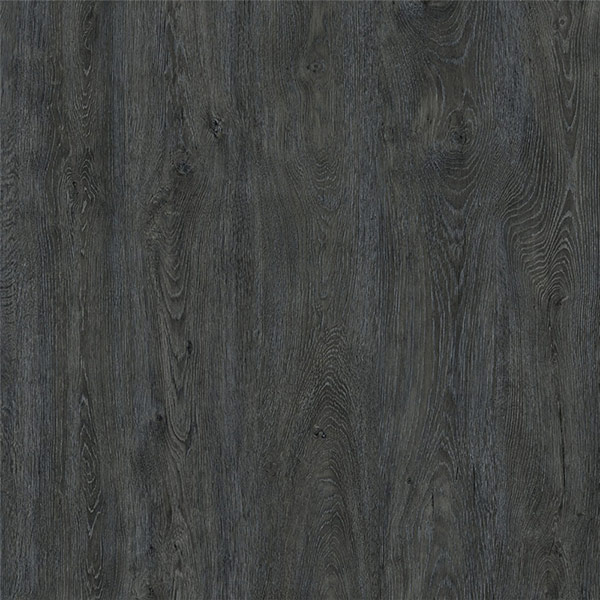
04. The dark texture is really nothing to say, more suitable for large-sized families.
How about the Herringbone flooring Installation cost and quantity calculation?
The main difference between herringbone parquet flooring and other wooden floors lies in the splicing method. The herringbone splicing method requires manual piecework and cutting, so the installation cost is high and consumes more materials, half of which is the cost of conventional flooring installation. Up to 4 times, the loss is about 15%, but it also shows the beautiful texture and pattern, so it is fascinating.
Matters needing attention when install herringbone flooring.
The first is that the ground should be flat and dry, which is conducive to the later laying of herringbone floors. In addition, before splicing the floor of the herringbone, we must lay a layer of moisture-proof mat on the floor, which can effectively reduce the probability of dampness in the later stage of the herringbone.
SPC Flooring Backing
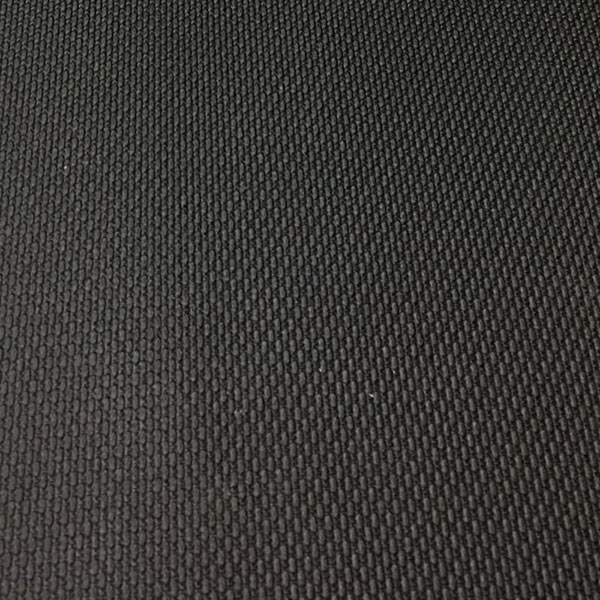
IXPE Backing

Plain EVA Backing
Finish Types
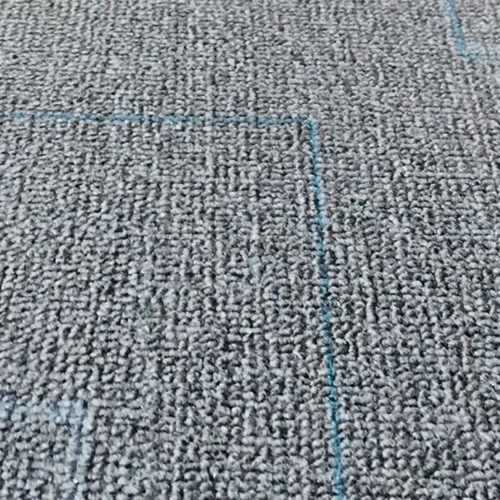
Carpet Surface
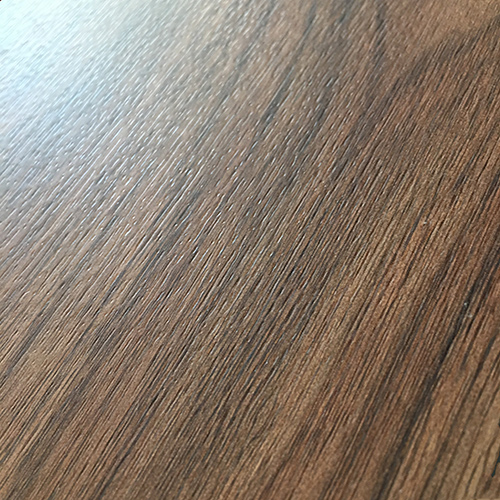
Crystal Surface

Deep Embossed Surface
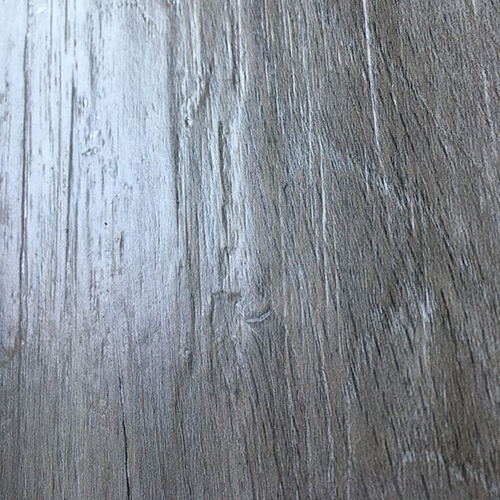
Handscraped Spc Flooring
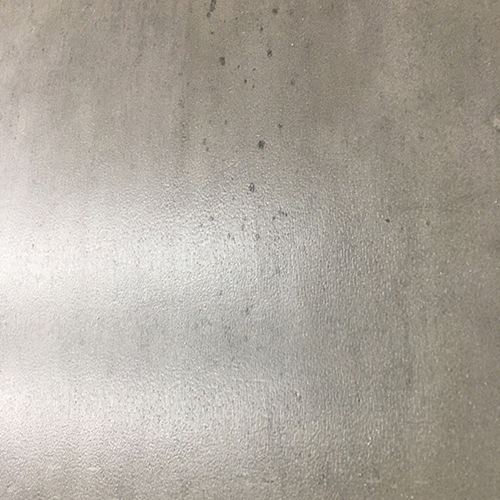
Leather Surface
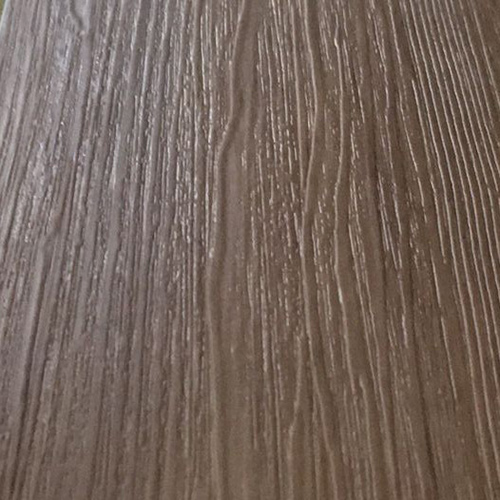
Light Embossed

Marble Surface
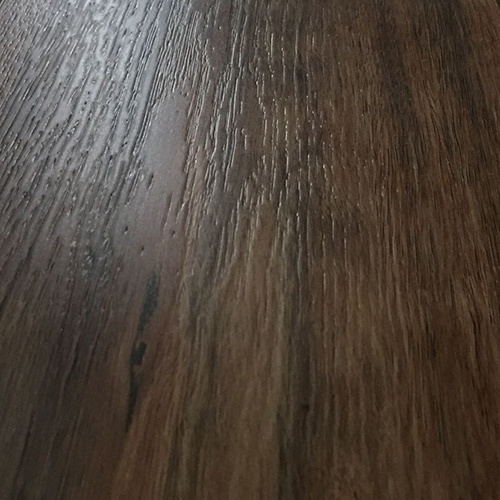
Real Wood
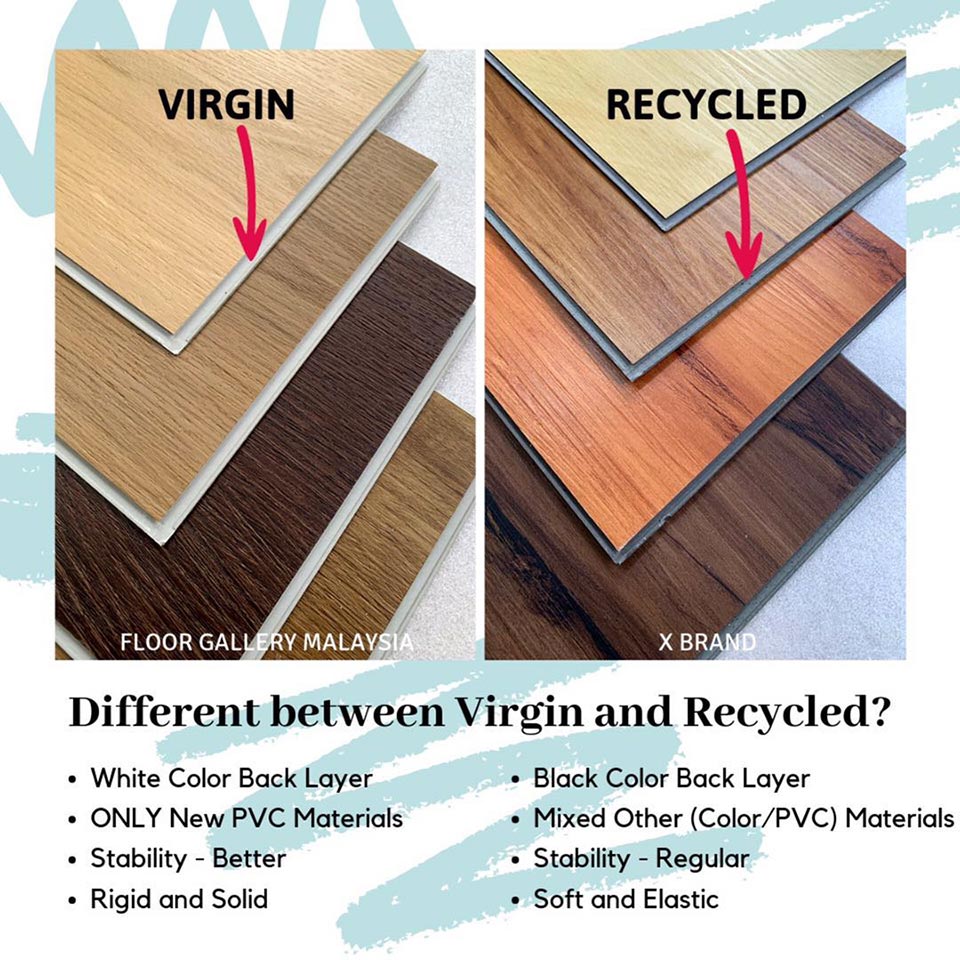
What is Difference Between the 100% Virgin Spc Flooring and Recycled Spc Flooring ?
Spc Flooring Waterproof Quality Test
Joints of Spc flooring

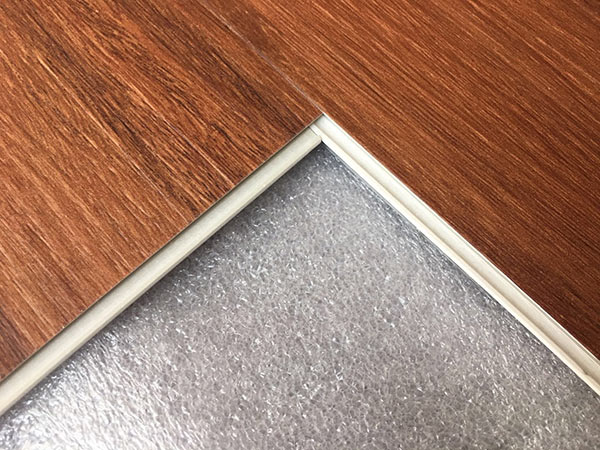
Unilin Click 1

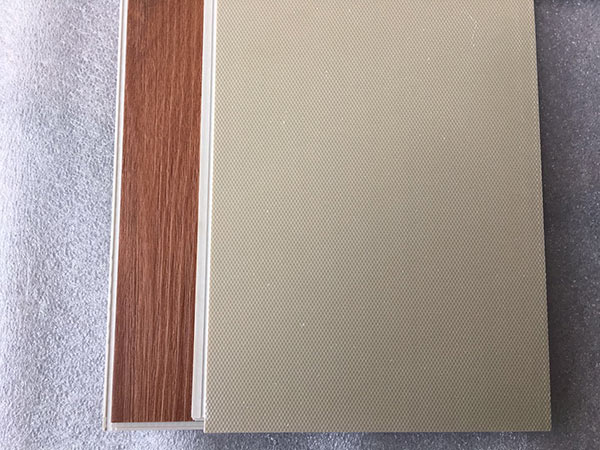
Unilin Click 2
SPC Floor Packing List
| Herringbone SPC Floor | |||||||||
| Size | sqm/pc | kgs/sqm | pcs/ctn | sqm/ctn | ctn/pallet | pallet/20ft | sqm/20ft | ctns/20ft | Cargo Weight/20ft |
| 600*135*4mm | 0.0810 | 8.2 | 26 | 2.10600 | 72ctn/10pallet, 84ctn/10pallet | 20 | 3285.36 | 1560 | 27400 |
| 600*135*5mm | 0.0810 | 10.2 | 20 | 1.62000 | 72ctn/10pallet, 84ctn/10pallet | 20 | 2527.20 | 1560 | 25777 |
| 600*135*6mm | 0.0810 | 12.2 | 18 | 1.45800 | 72ctn/10pallet, 84ctn/10pallet | 20 | 2275.00 | 1560 | 27750 |
Advantage
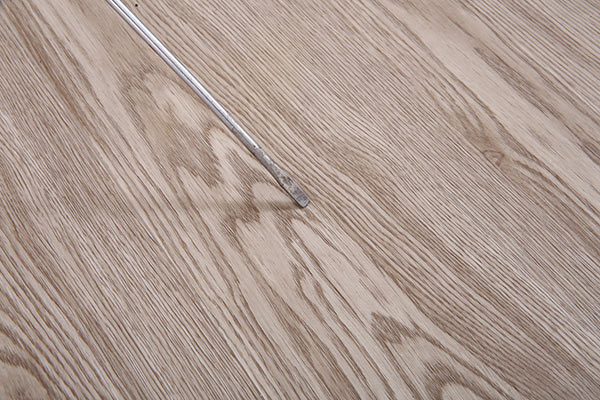
SPC Floor Anti-scracth Test

SPC Floor Fireproof Test
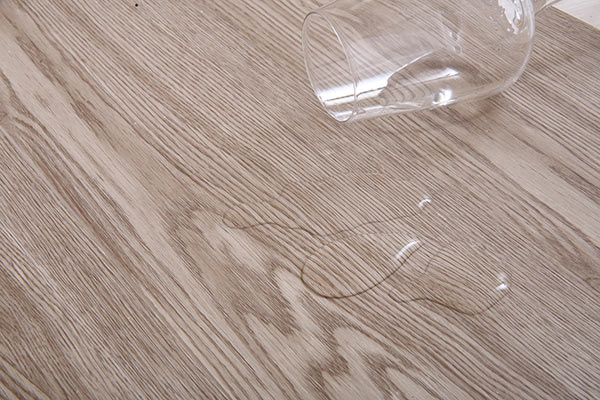
SPC Floor Waterproof Test
Applications
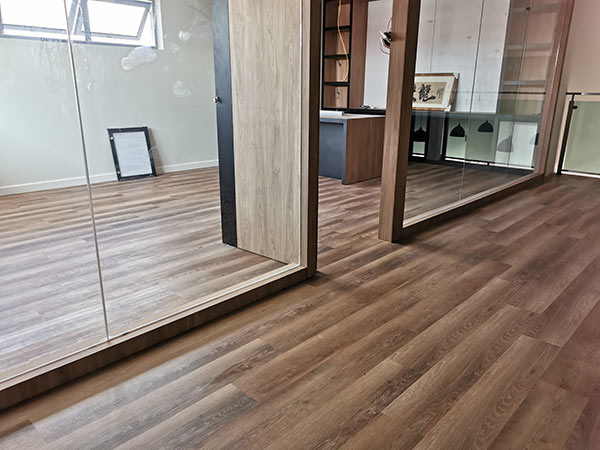
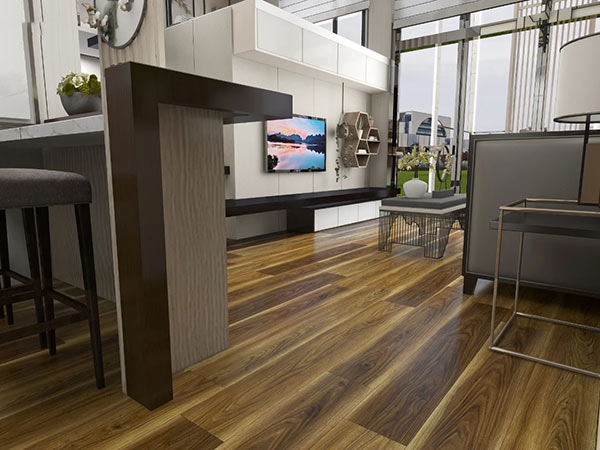
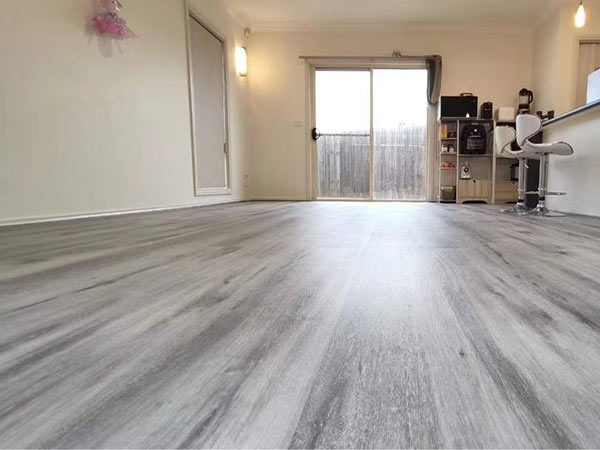
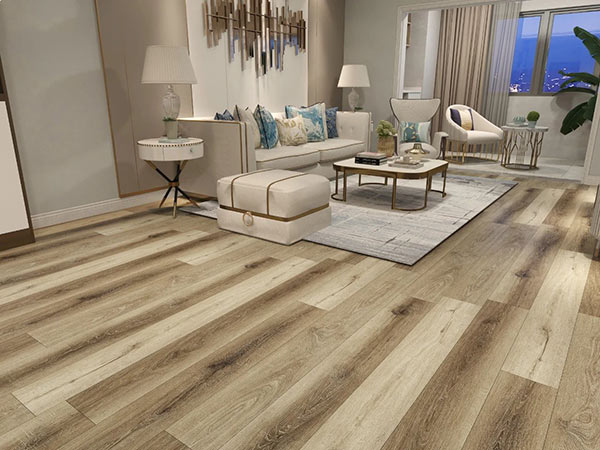
Blackbutt Spc Flooring Project in Australia – 1


Spotted Gum Spc Flooring Project in Australia – 2


SPC Floor Protection Process

1 Workshop
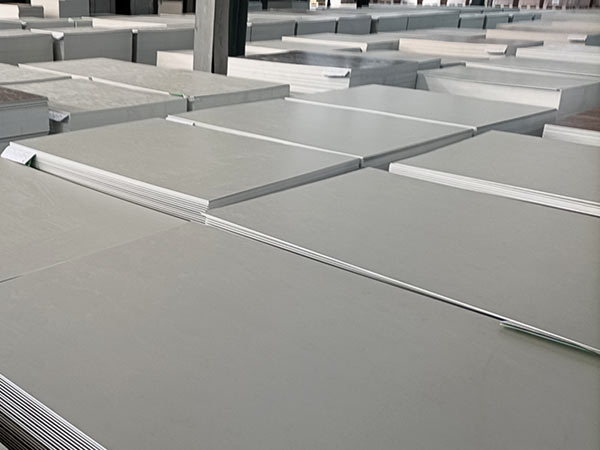
4 SPC Health Board
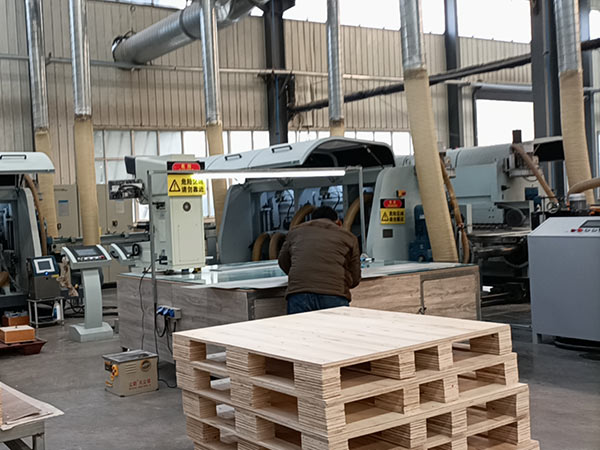
7 SPC Click Macking Machine
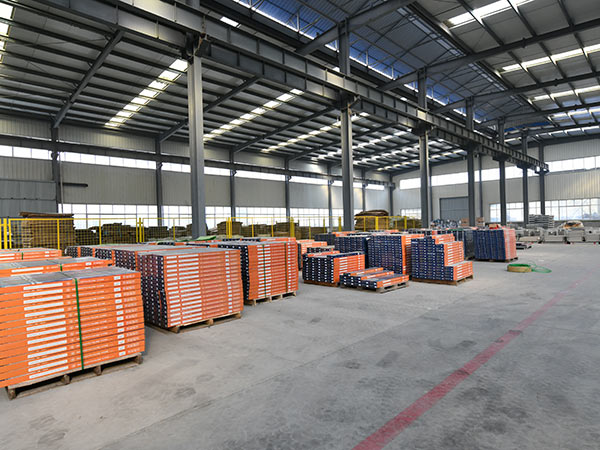
10 Warehouse
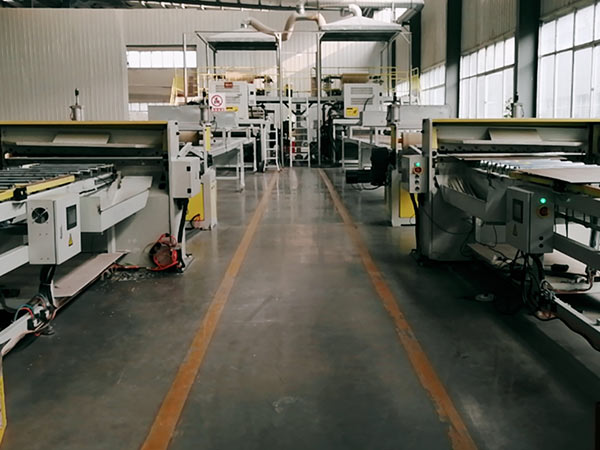
2 SPC Coextrusion Machine
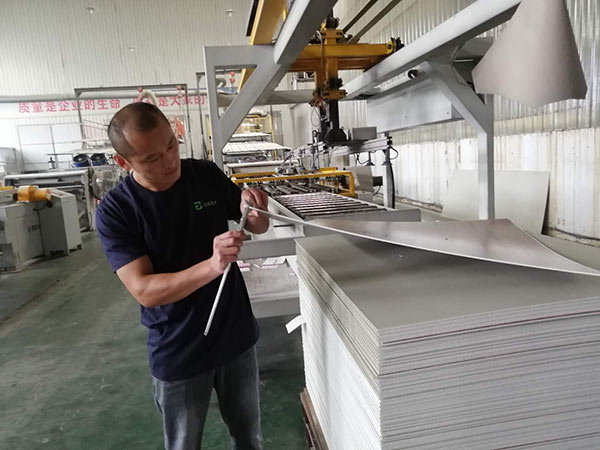
5 SPC Quality Test
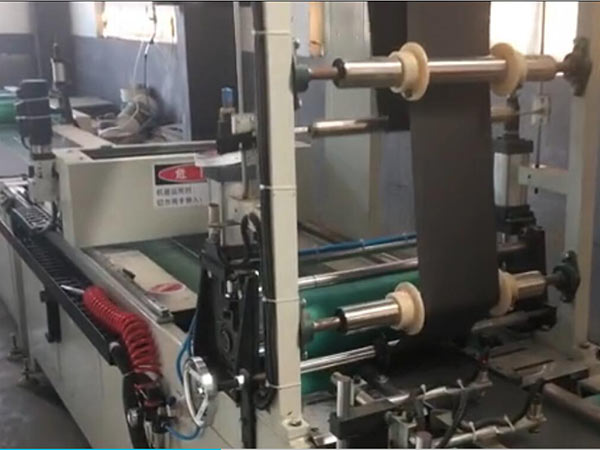
8 Foam Adding Machine
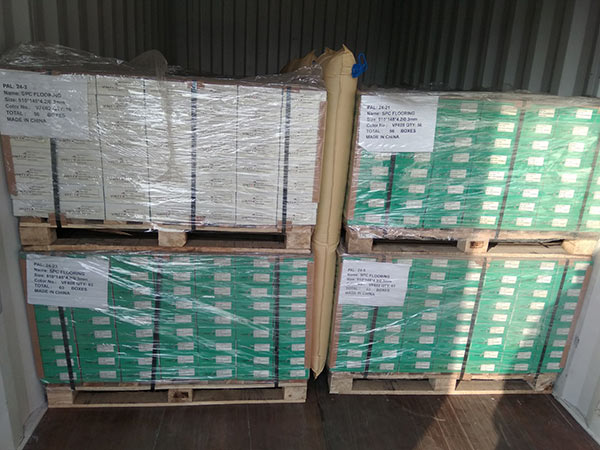
11 Loading
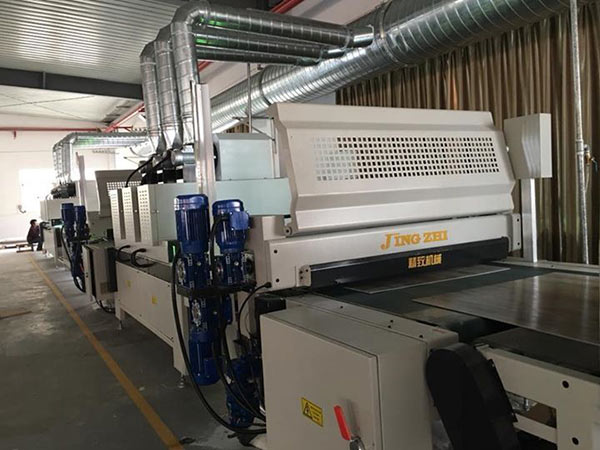
3 UV Machine

6 SPC Cutting Machine/strong>
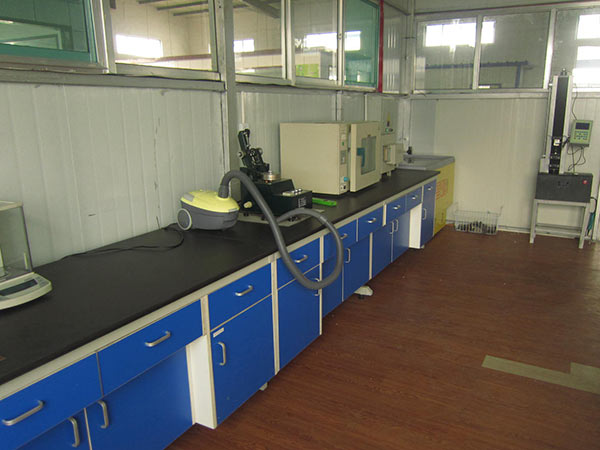
9 Laboratory
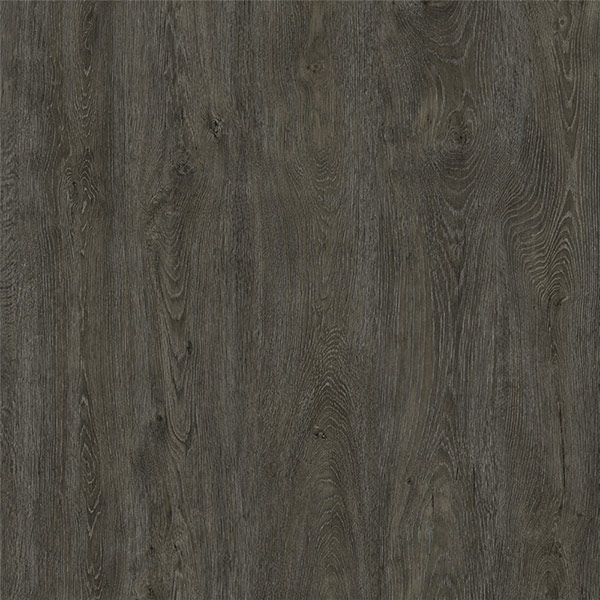
 A. Drop Click Spc Flooring Installation
 B. Unilin Click Spc Flooring Installation
 SPC FLOORING INSTALLATION METHOD
1. First, determine how you want the flooring to run. Typically for plank products, the flooring runs the length of the room. There may be exceptions since it is all a matter of preference.
2. To avoid narrow plank widths or short planks lengths near the walls/ doors, it’s important to do some pre-planning. Using the width of the room, calculate how many full boards will fit into the area and how much space remains that will need to be covered by partial planks. Divide the remaining space by two to calculate the width of the partial planks. Do the same along the length.
3. Note that the first row of planks does not need to be trimmed in width, it will be necessary to cut off the unsupported tongue so that a clean, solid edge is toward the wall.
4. 8mm expansion gaps should be kept from the wall during the installation. This will allow space the natural expansion gaps and contraction of the planks.
5. The planks should be installed from right to left. From the top right corner of the room, put the first plank in place so that both the head and side seam grooves are exposed.
6. Install the second plank in the first row by angling the short side tongue into the long side groove of the first plank.
7. To start the second row, cut a plank that is at least 152.4mm shorter than the first plank by inserting the long side tongue into the groove of the plank in the first row.
8. Install the second plank in the second row by inserting the short side tongue into the previously installed first plank long side groove.
9. Align the plank so the short side tongue tip is positioned just over the groove lip of the plank in the first row.
10. Using gentle force and at a 20-30 degree angle, push the short side tongue into the groove of the adjourning plank by sliding along the long side seam. You may need to lift the plank to the right of it slightly to allow for the “sliding” action.
11. The remaining planks can be installed in the room using the same technique. Make sure the required expansion gaps are maintained against all fixed vertical parts (such as walls, doors, cabinets etc).
12. The planks can be cut easily with a utility knife, just score the top of the plank and snap the plank in two.
 Spc flooring installation design

| Characteristic | Test Specification and Result |
| Sizes (in inches) | 6×36; 6×48; 7×48; 8×48; 9×48; 12×24; 12×48; 12×36; 18×36 |
| Thickness | 3.8mm, 4.0mm, 4.5mm, 5.0mm, 5.5mm, 6.0mm |
| Attachment / Backing | 1.5mm or 2.0mm IXPE and EVA |
| Squareness | ASTM F2055 – Passes – 0.010 in. max |
| Size and Tolerance | ASTM F2055 – Passes – +0.016 in per linear foot |
| Thickness | ASTM F386 – Passes – Nominal +0.005 in. |
| Flexibility | ASTM F137 – Passes – ≤1.0 in., no cracks or breaks |
| Dimensional Stability | ASTM F2199 – Passes – ≤ 0.024 in. per linear foot |
| Heavy Metal Presence / Absence | EN 71-3 C — Meets Spec. (Lead, Antimony, Arsenic, Barium, Cadmium, Chromium, Mercury and Selenium). |
| Smoke Generation Resistance | EN ISO 9239-1 (Critical Flux) Results 9.1 |
| Smoke Generation Resistance, Non-Flaming Mode | EN ISO |
| Flammability | ASTM E648- Class 1 Rating |
| Residual Indentation | ASTM F1914 – Passes – Average less than 8% |
| Static Load Limit | ASTM-F-970 Passes 1000psi |
| Requirements for Wear Group pr | EN 660-1 Thickness Loss 0.30<I<0.60 prEN 660-2 Volume Los 7.5<F <15.0 |
| Slip Resistance | ASTM D2047 – Passes – > 0.6 Wet, 0.6 Dry |
| Resistance to Light | ASTM F1515 – Passes – ∧E ≤ 8 |
| Resistance to Heat | ASTM F1514 – Passes – ∧E ≤ 8 |
| Electrical Behavior (ESD) | EN 1815: 1997 2,0 kV when tested at 23 C+1 C |
| Underfloor Heating | Suitable for installing over under floor heating. |
| Curling After Exposure to Heat | EN 434 < 2mm pass |
| Recycled Vinyl Content | Approximately 40% |
| Recyclability | Can be recycled |
| Product Warranty | 10-Year Commercial & 15-Year Residential |
| Floorscore Certified | Certificate Provided Upon Request |

